Sitemaps allow you to easily create a visual representation of your website’s structure and content, making it easier for search engines to index and understand the site.
1 – Log into your WordPress dashboard.
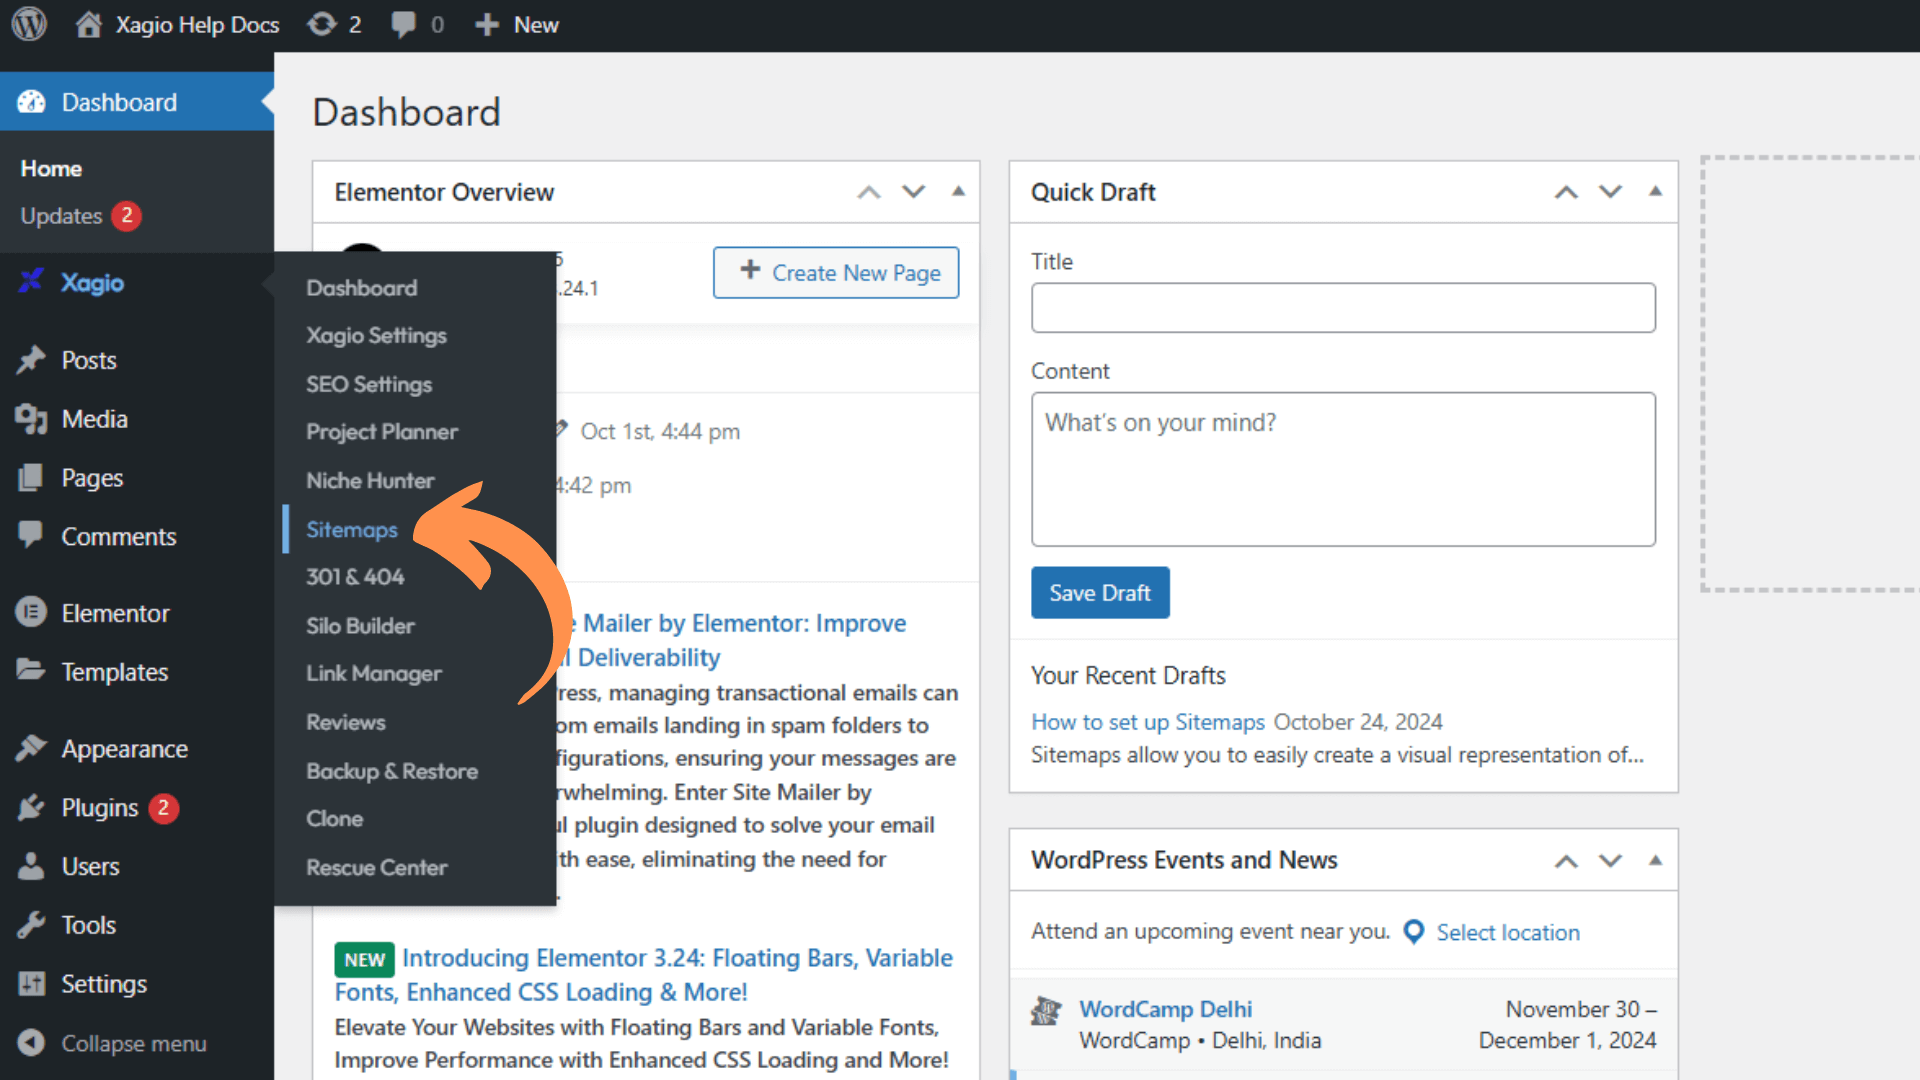
2 – Navigate to the Xagio Sitemaps tab.
3 – Click on the “Overview” tab.
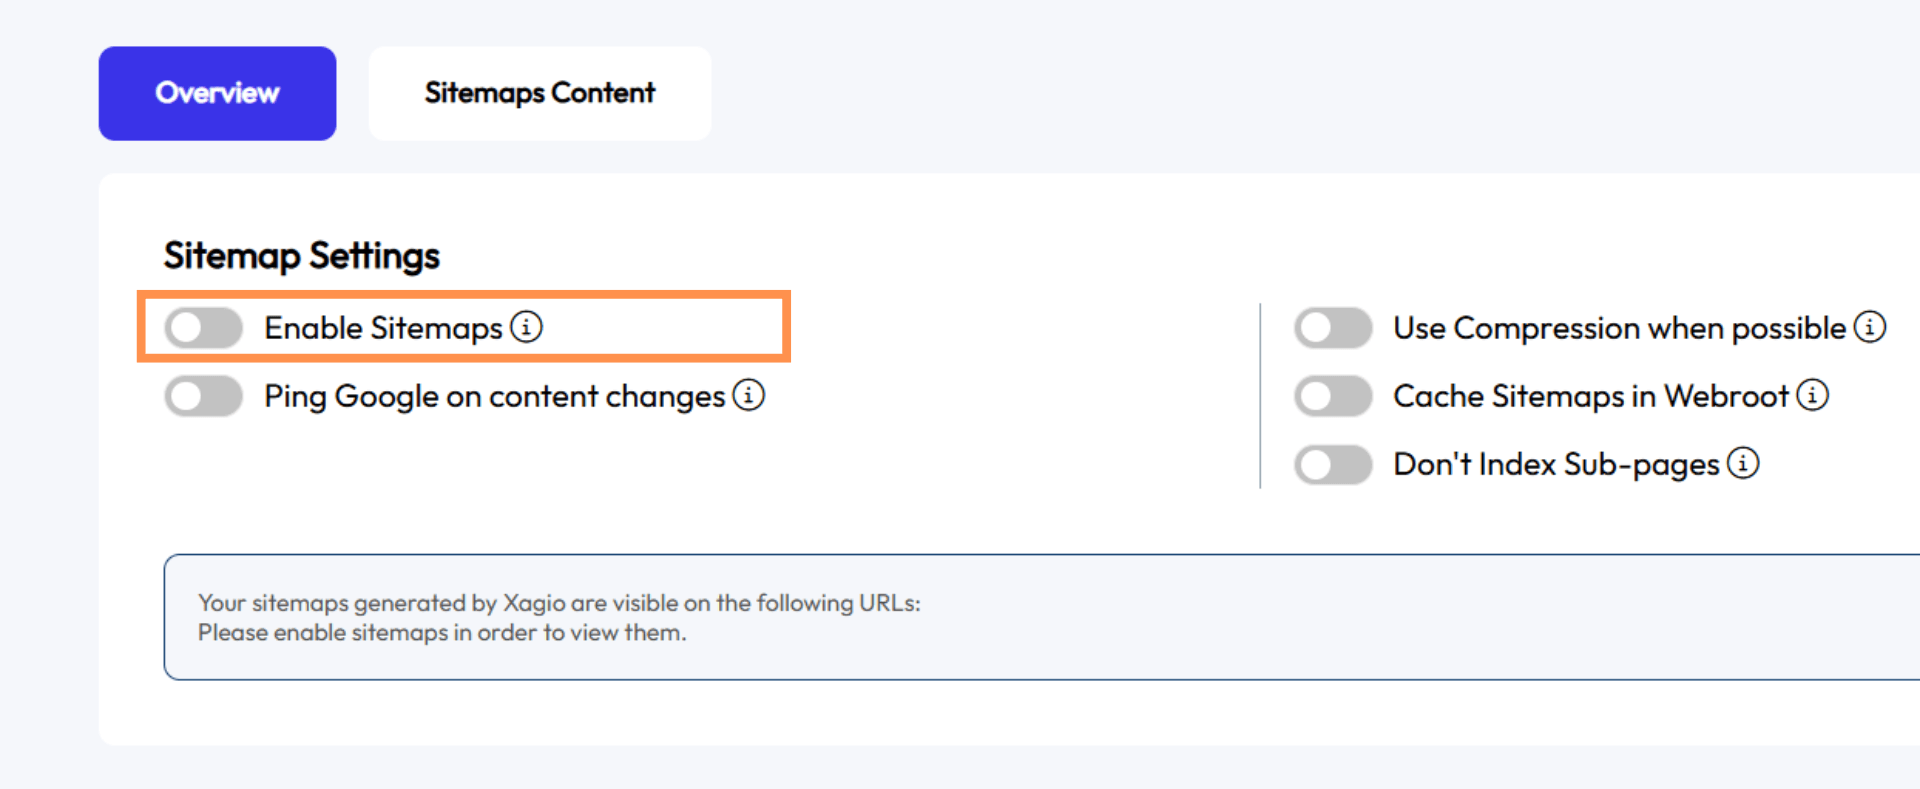
4 – Toggle the “Enable Sitemaps” switch on if you want Xagio to create Sitemaps.
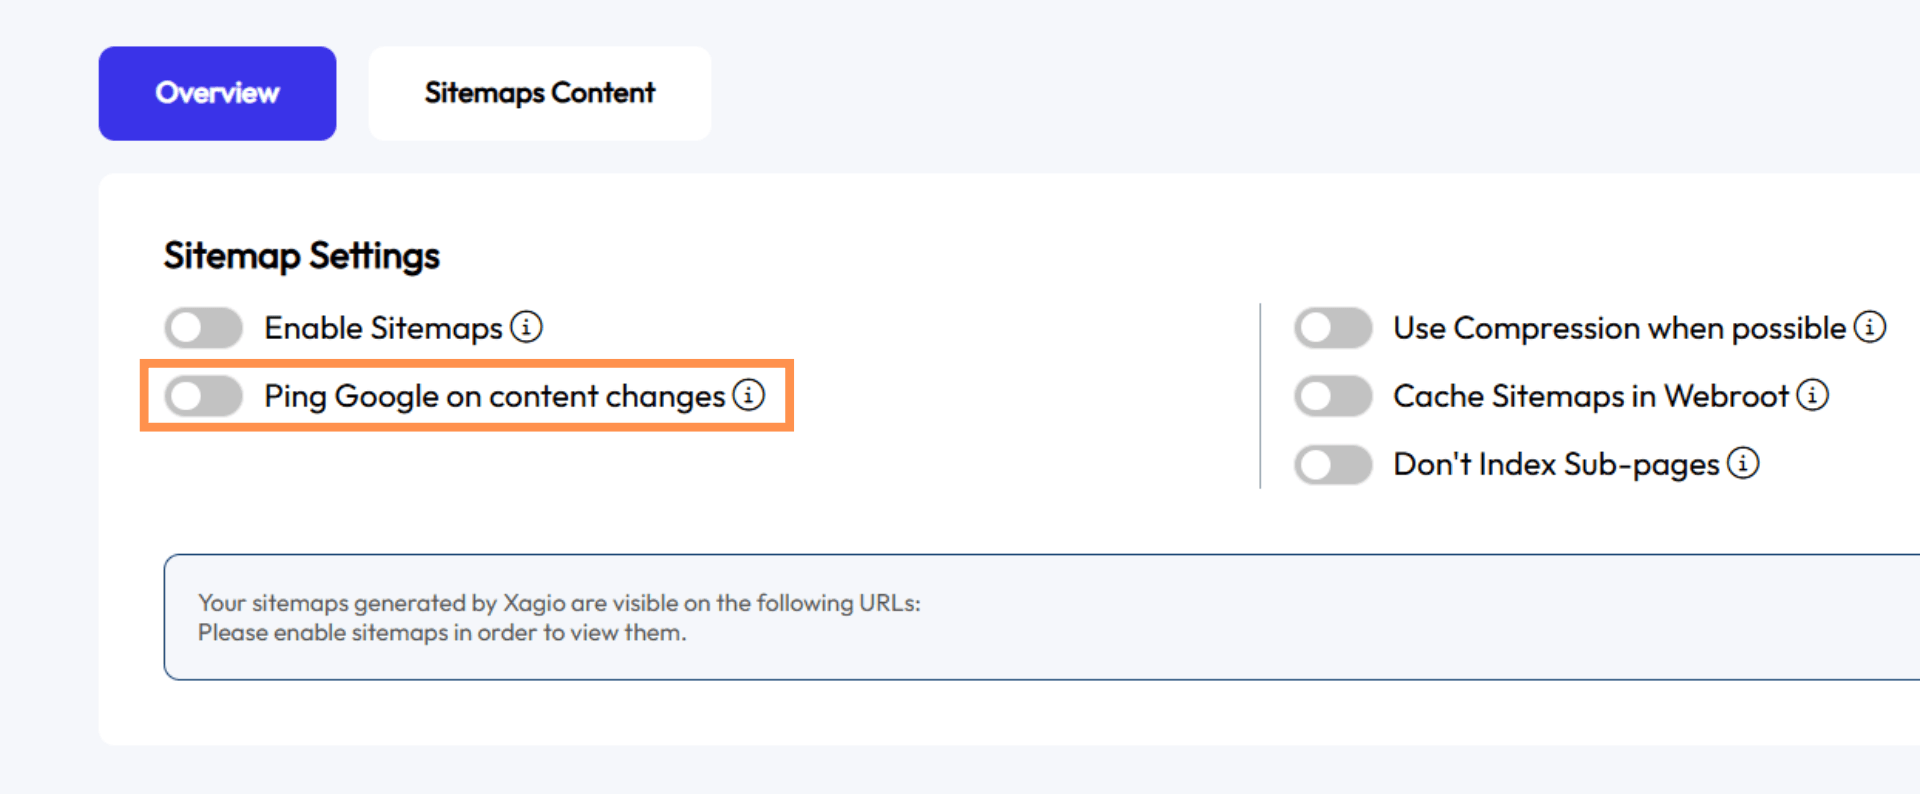
5 – Toggle the “Ping Google on content changes” switch on if you want Xagio to ping Google when you change content.
6 – Toggle the “Use Compression when possible” switch on if you want Xagio to compress large sitemaps files.
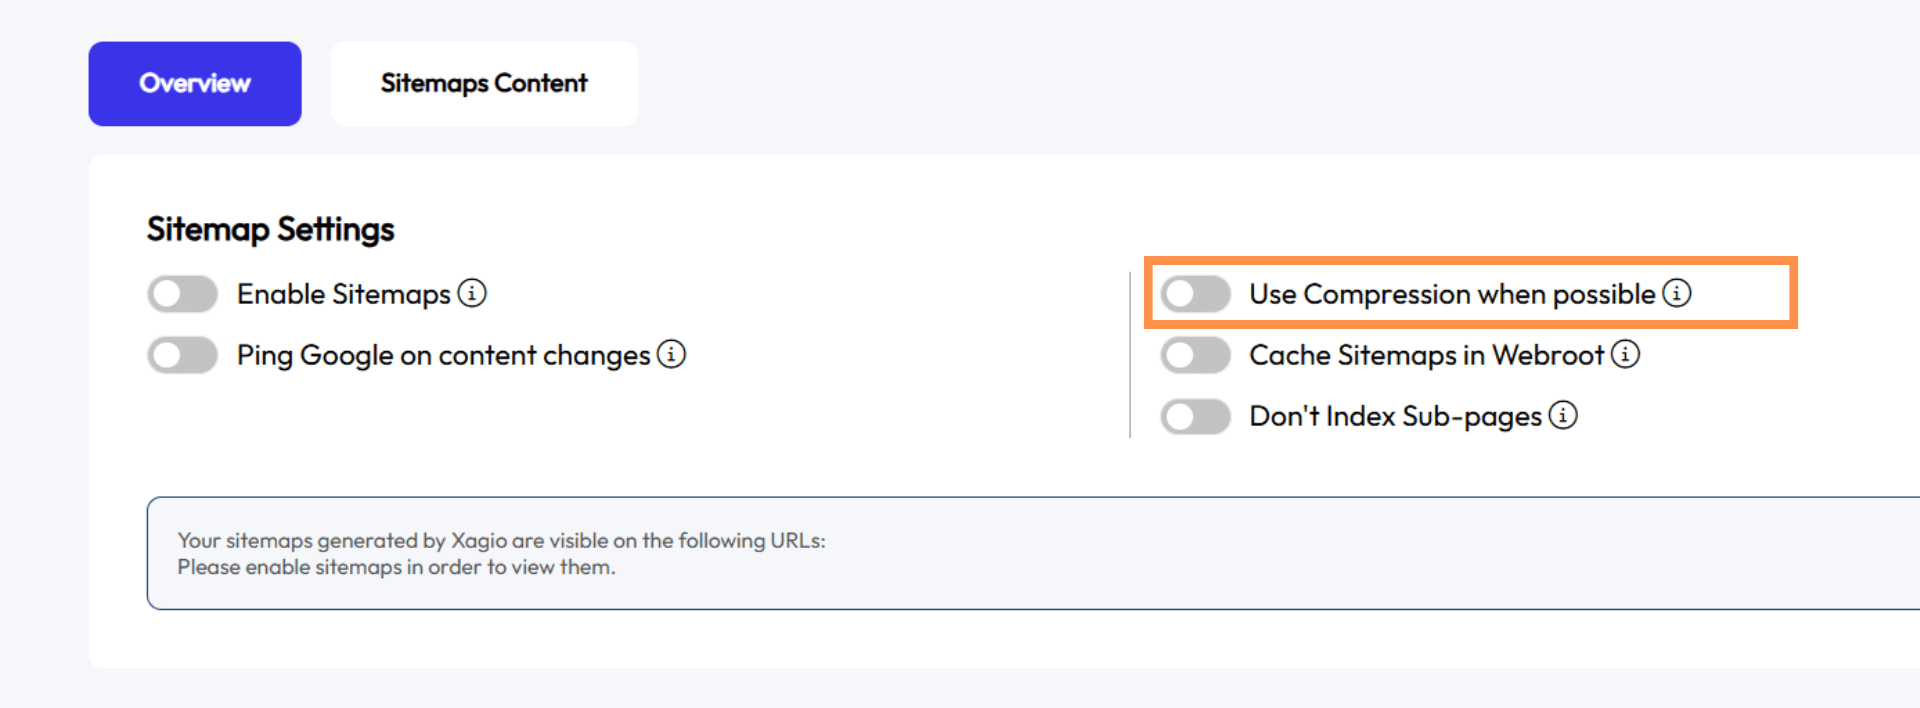
7 – Toggle the “Cache Sitemaps in Webroot” switch on if you want to improve performance by creating a cached sitemap.
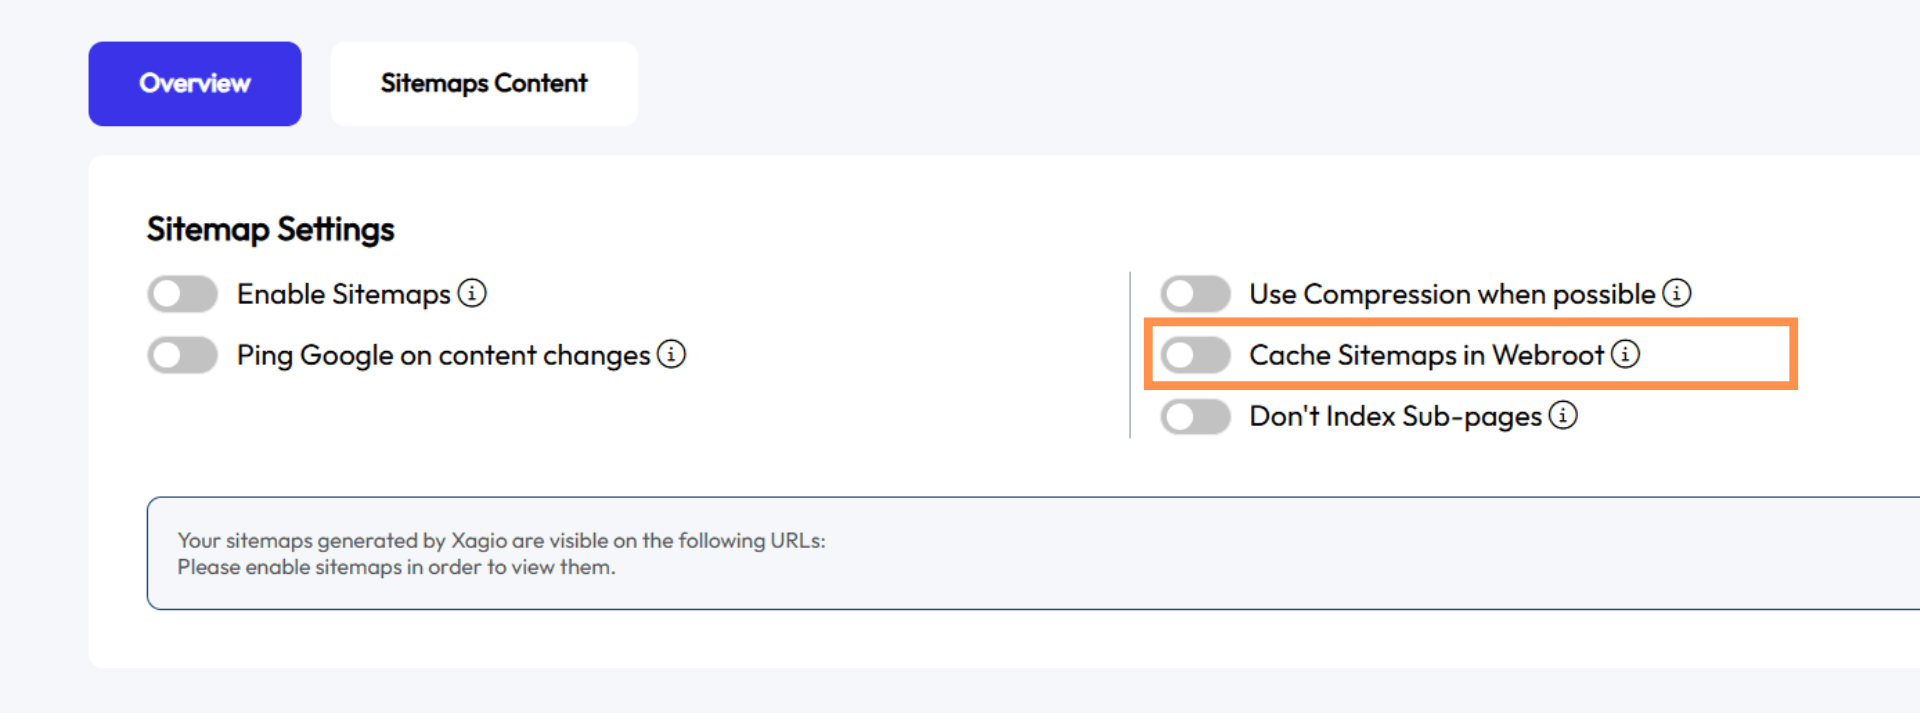
8 – Toggle the “Don’t Index Sub-pages” switch on if you want don’t want sub-pages indexed.
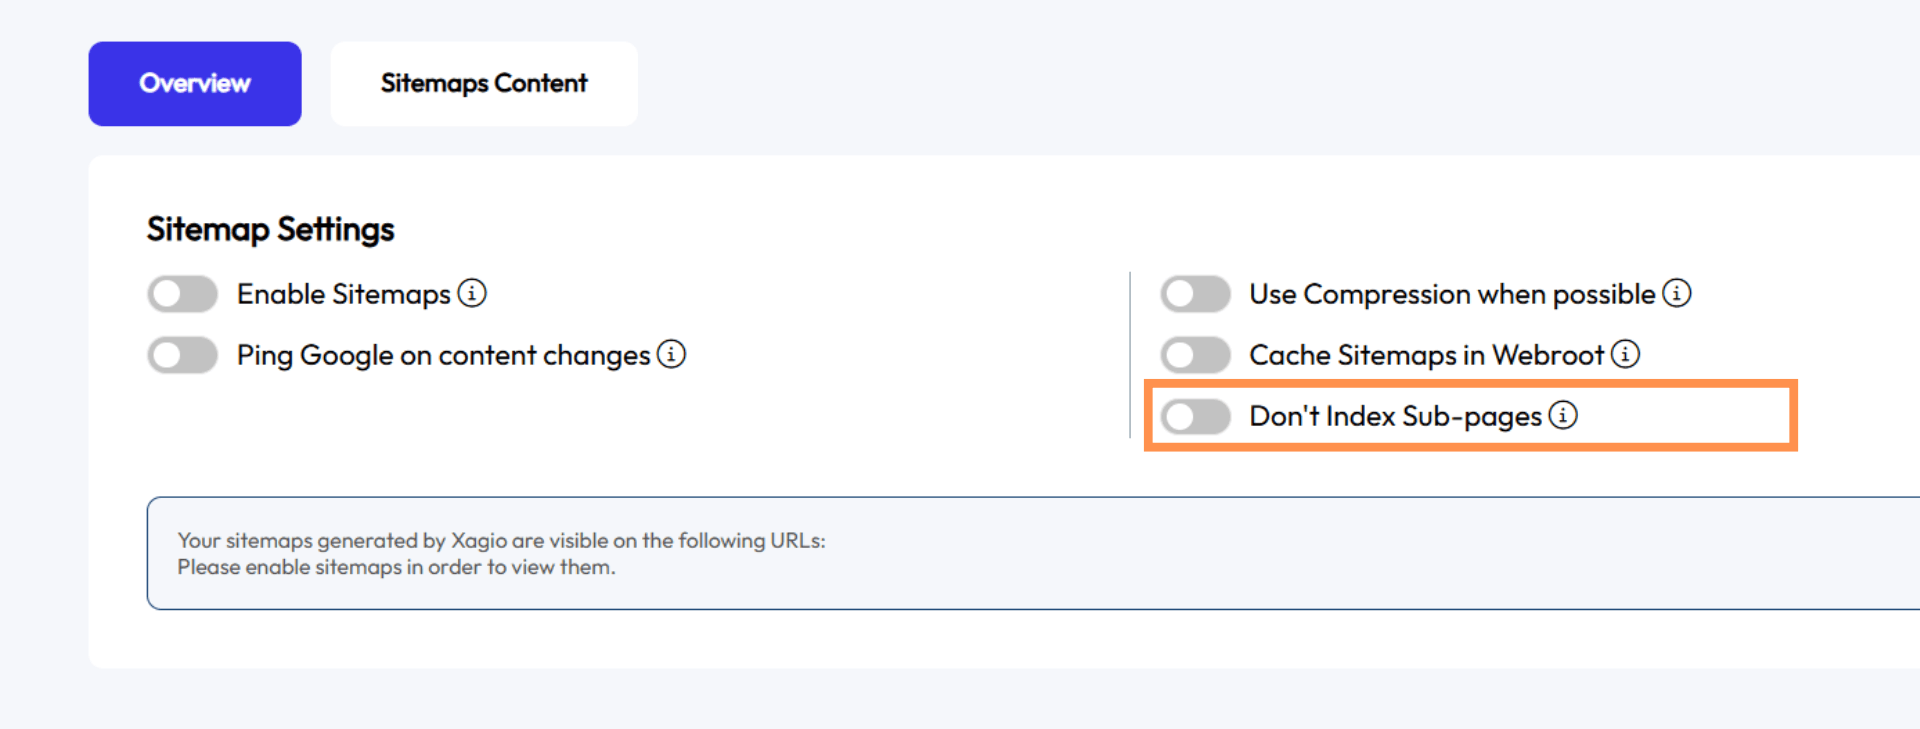
9 – Click on the “Sitemaps Content” button.
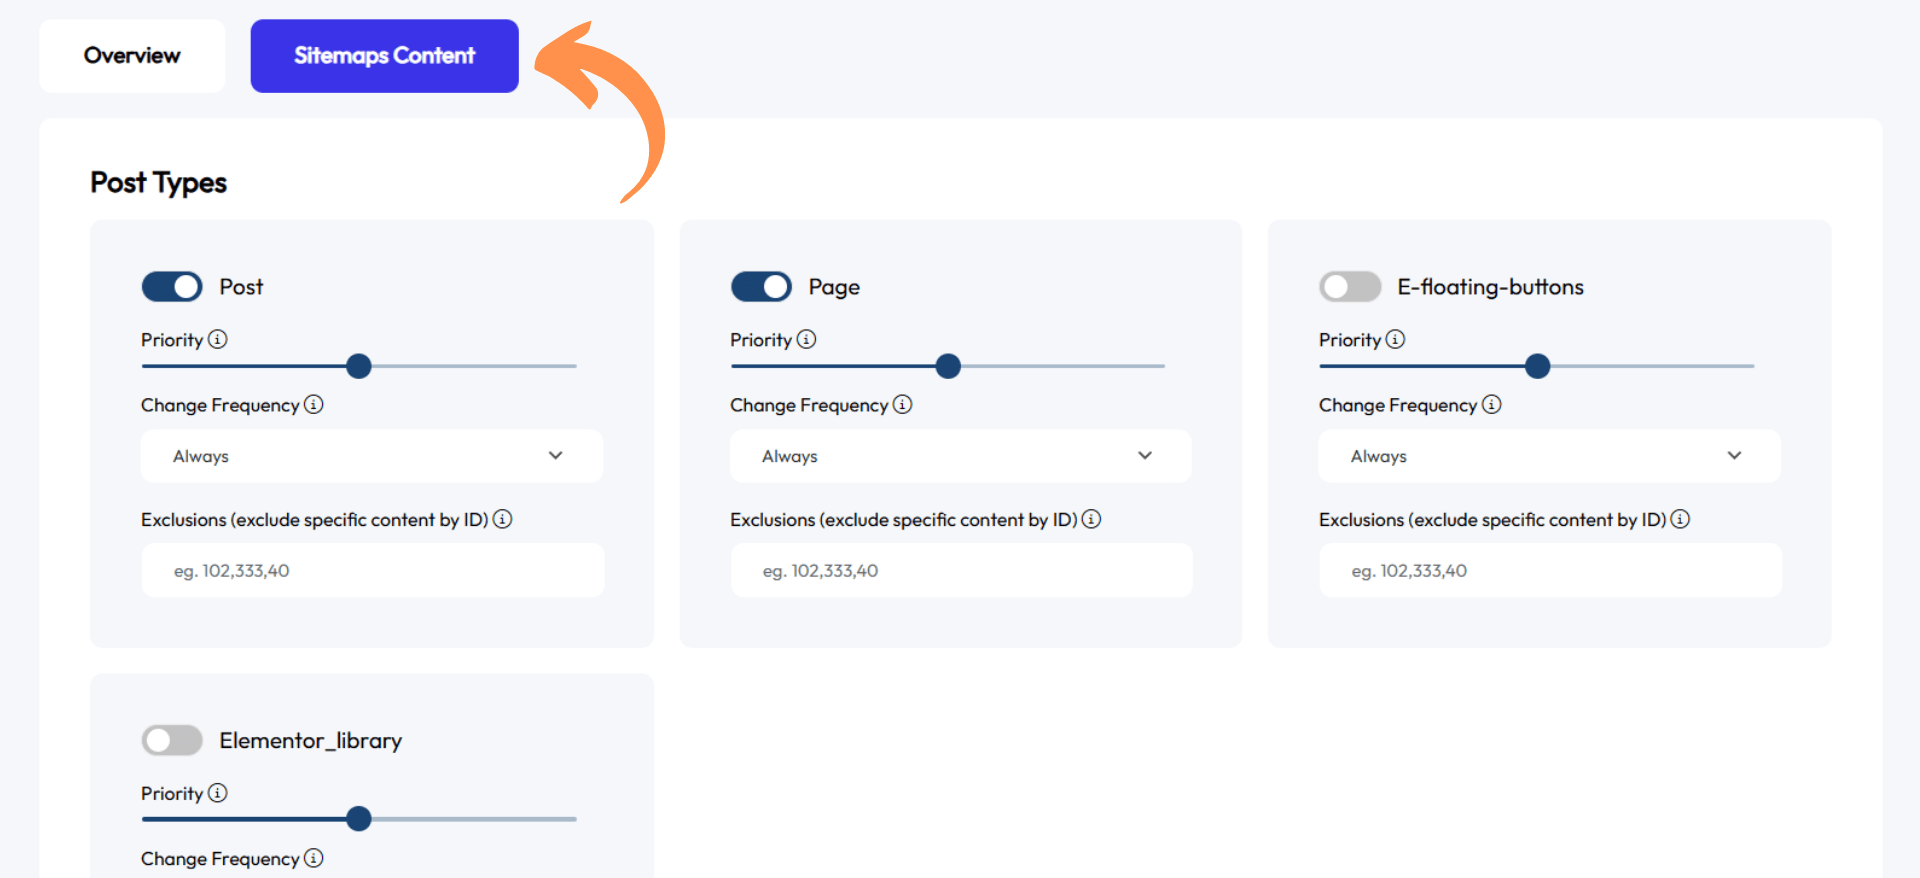
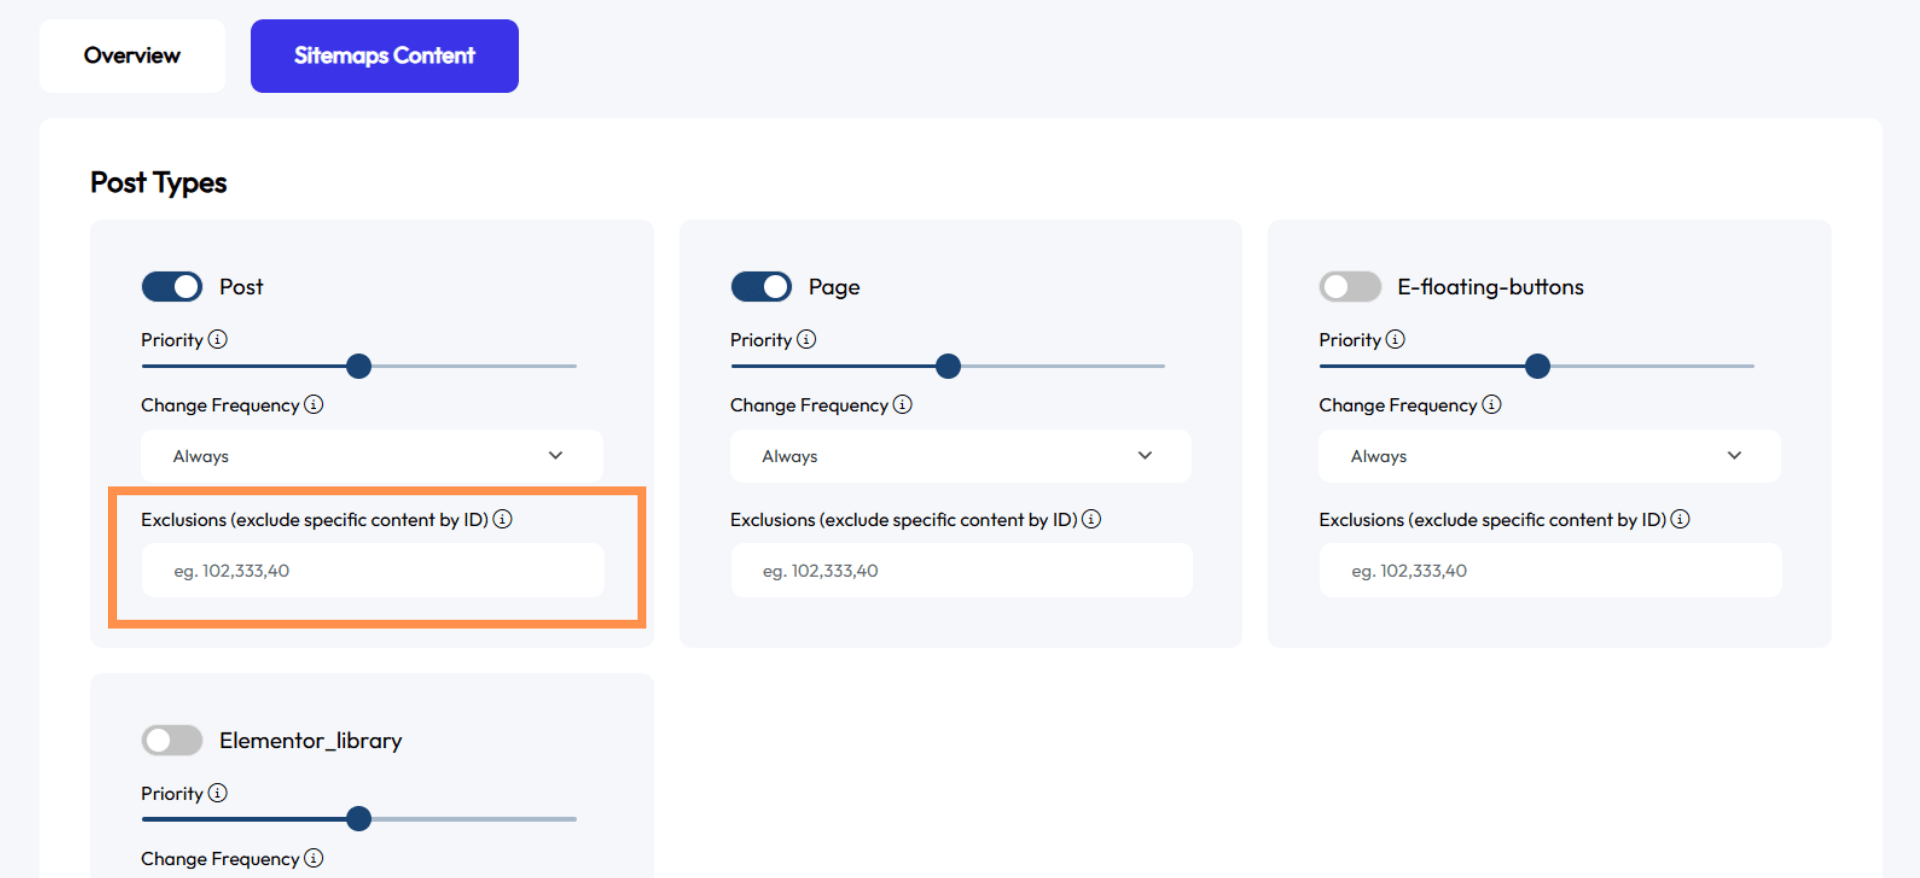
10 – Choose the Priority and Change Frequency for posts, pages, and taxonomies.
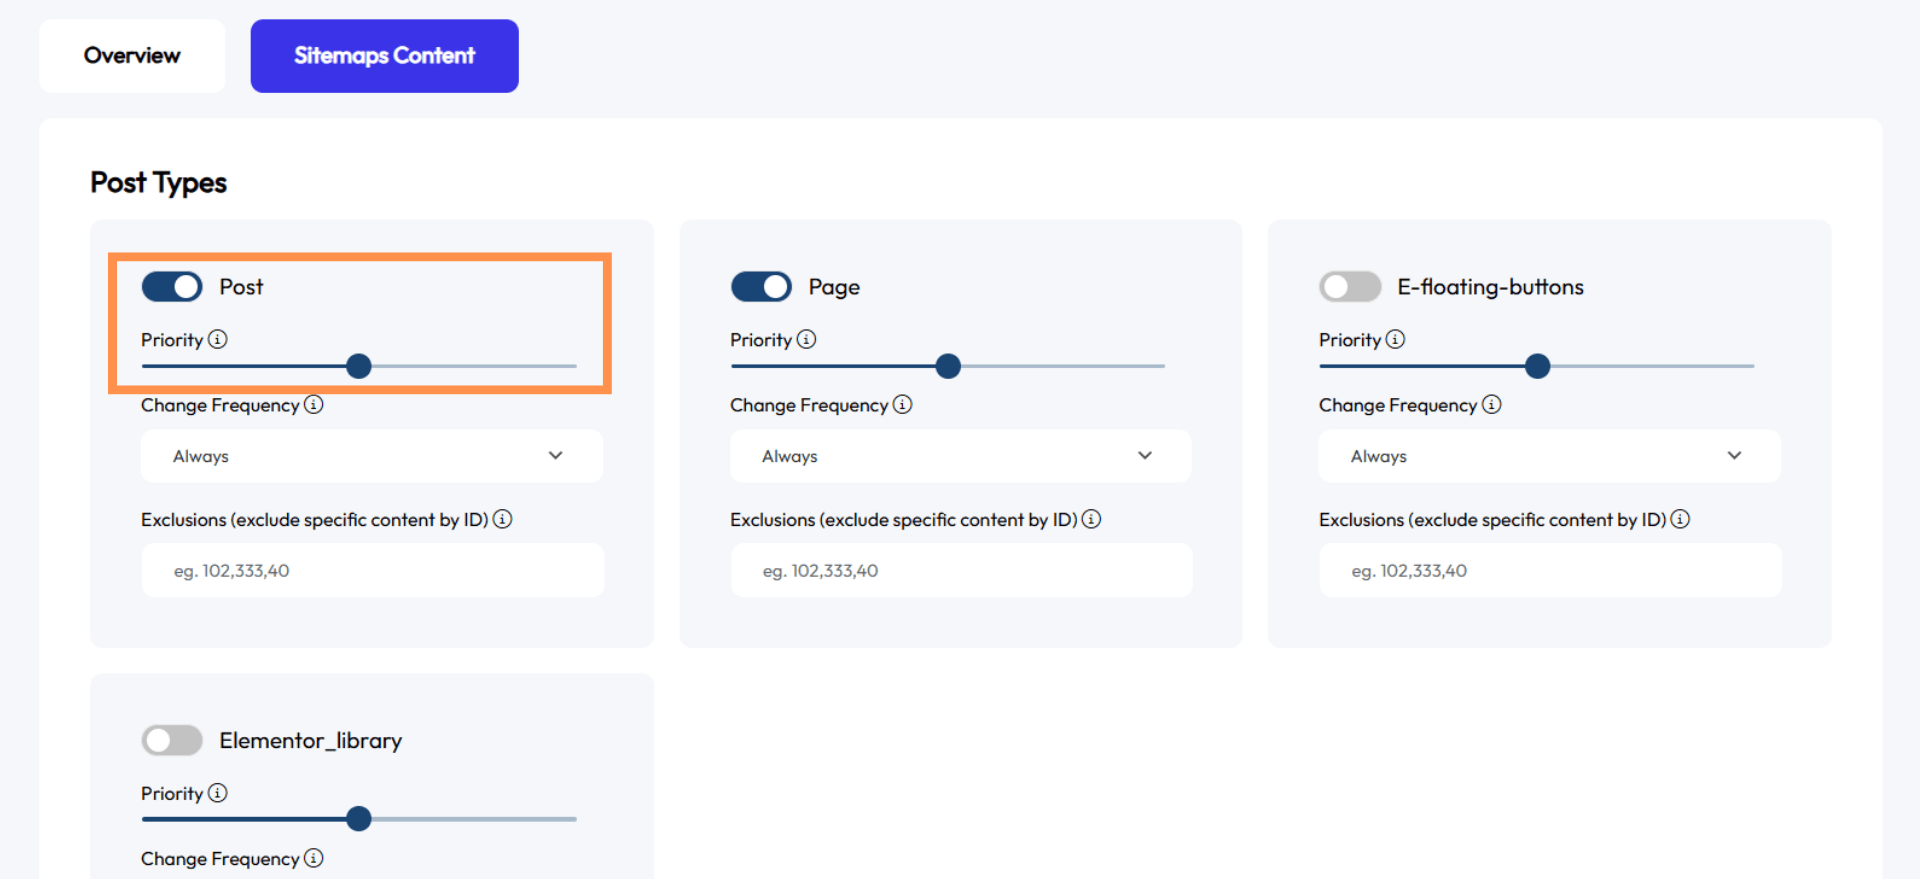
11 – Add the content ID of pages, posts, and taxonomies that you want to exclude from the sitemaps.
